This series of six standing yoga poses for home practice is based around the open-hipped alignment of Warrior II (for much more on hip alignment, read Closed Vs. Open Hips: A Yoga Primer. That means that once you’re set up with your front heel in line with your back arch and your hip points facing the side of your mat, you don’t have to move your feet at all (except, of course, when you lift one off the ground). Each pose also offers the opportunity to broaden your chest and open your heart.
When you’re starting a home practice, it can be helpful to have a sequence like this in mind so you don’t run out of things to do when you get on your mat. This series is a great way to follow up your Sun Salutations. At the very least, warm up your body with a few Downward Facing Dogs and maybe a vinyasa or two before diving into standing poses. Spend several breaths in each pose to build endurance or move through more quickly to shift some energy. As always, add or subtract poses as you see fit and flow into other things you want to work on. This is YOUR practice, after all.
If you have a block, keep it handy at the front of your mat in case you want it. If you want a block but don’t have one, a shoebox, stack of books, or step stool might do the trick.

1. Warrior II (Virabhadrasana II)
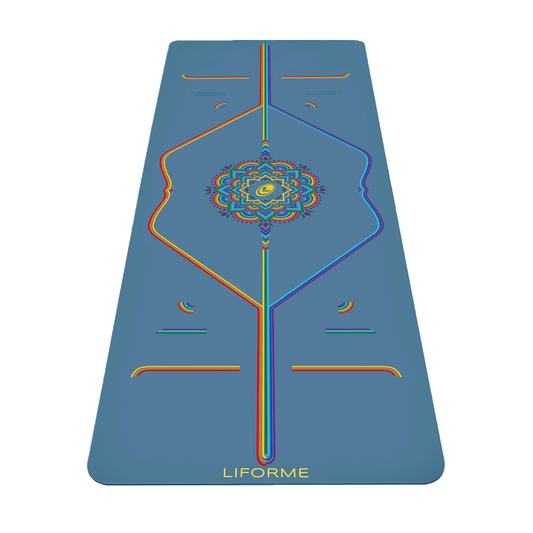
Since every other pose in this sequence builds upon the alignment of Warrior II, take care when you set yourself up. Lining up your front (left) heel with your back (right) arch works (use the Central Line on a Liforme Yoga Mat to get it just right) for a lot of bodies but you can take your feet a bit wider (side to side) if you want extra stability. Place your back foot so that it’s parallel to the back of your mat (or the End to End Lines). Some styles teach Warrior II with the ball of the back foot turned slightly in. Avoid turning the ball out, however.
Take a stance that allows your front knee to be over your front ankle when your back leg is straight. Your hips face the side edge of your mat, your shoulders stack over your hips, your arms extend strongly at shoulders’ height and your gaze is forward. With this alignment locked in, your pose is strong and stable.

2. Extended Side Angle (Utthita Parsvakonasana)
From Warrior II, keep the legs as they are as you move into Extended Side Angle. There are a few different options when it comes to placing your bottom arm. The value of the pose is not greater if your hand is on the ground so choose the arm variation that allows you to open your chest most fully toward the ceiling. If your hand is on the floor but your chest is facing down, this is not a win. Options include: left forearm to the top of the left thigh, left hand to a block on the inside or outside of your left foot, left hand to the floor on the inside or outside of your left hand. Extend your right arm toward the ceiling or over your ear toward the front of the room. Turn your gaze toward the ceiling and stay grounded through the outer edge of your back foot.

3. Reverse Warrior
Maintain the position of your legs with special attention to keeping your left knee over your left ankle while you sweep your left arm in a wide arc to point toward the back of the room. Let your right hand rest somewhere along the right leg but don’t put any weight into that hand. Approach this posture as more of a side stretch and less of a backbend.

4. Triangle Pose (Trikonasana)
Straighten your front leg and reach your left arm forward toward the front of the room. As you reach forward, deepen your left hip crease to release your left arm toward the floor with control. A block can be handy here or you can bring the left hand to rest lightly on the left shin or ankle. As in Extended Side Angle, above, place the left hand in a way that allows you to open your chest toward the ceiling. Keep a microbend in your left knee to strengthen the muscles around the joint. Turn your gaze toward the ceiling if that feels good in your neck.

5. Half Moon Pose (Ardha Chandrasana)
Now it’s time for your right leg to fly. Keep your left foot aligned with the Central Line as you bend your left knee and bring your hips over your left ankle. Move your left hand about 12-18 inches in front (and a few inches to the left) of your left foot. Take a block with you or come up to your fingertips. Lift your right leg until it is roughly parallel with the floor. Maintain the open hips position of the previous poses by making sure your instep stays parallel to the floor. You can think of this as a floating Triangle position. Don’t let your chest turn toward the floor. Stay active through your hands and feet. For a balance challenge, lift your gaze to your right hand or lift the left fingers a few inches away from the floor.

6. Sugarcane Pose (Ardha Chandra Chapasana)
If your Half Moon is pretty stable and you have the mobility, bend your right leg to bring your heel close to your right buttock. Reach back with your right hand to take hold of your right foot. Press the foot into your hand and your hand into your foot. Keep your gaze lifted and your chest open.
Soften your left knee to step your right foot back to a Warrior II. Repeat the sequence with your right foot forward.