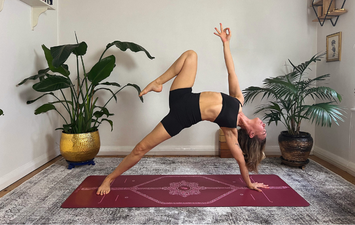
As a standing balance posture, Warrior III works your core and legs while bringing your attention to your hip alignment. It may look like you’re going for height in your lifted leg in this posture, but don’t fall into the “higher is better” trap! It’s more important to keep your pelvis level and facing forward, even if it means dropping your leg a little (or a lot).
Warrior III Basics
Sanskrit Meaning:) Virabhadra (Hindu Warrior) Asana (Pose)
Yoga Level: Intermediate
Pose Type: Standing Balance
Benefits: Improves leg, foot, and core strength, balance, and body awareness.
Key Alignment Cues to Keep in Mind
1. Hips Square
In every standing pose, your pelvis is either facing the front of the mat as in Mountain Pose or the side of the mat as in Warrior II. Warrior III is a forward-facing, Mountain Pose orientation of the pelvis. Read Closed Vs. Open Hips: A Yoga Primer for more info and body awareness exercises.
2. Don’t Lock Your Knee
Keep a slight bend in your knee on your standing leg for better balance.
3. Activate your Foot
Keep your lifted leg engaged by flexing your foot.
Step by Step Instructions
1. Begin in a High Lunge position with your right leg forward.
2. Place your hands on your hips. Make sure both your hip points are facing forward.
3. Lean your torso forward on a diagonal as you push into your left foot to lift it off the floor and take your pelvis over your right foot.
4. Keep a slight bend in your right knee as you bring your torso and left leg parallel to the floor.
5. Check your hip points again to make sure they are both pointing forward.
6. Flex strongly into your left foot with your left toes pointing straight down at the floor.
7. Lift your arms parallel to the floor with your fingers pointing toward the front of the room.
8. Keep your neck long and your gaze on the floor.
 Beginners’ Tips and Variations
1. It’s okay if your back leg isn’t parallel to the floor. Prioritize keeping your pelvis in a forward-facing position. If you open your hip, you will be able to lift your leg higher, but that isn’t this pose.
2. Choose a different arm variation. Your arms can wing backwards or bring your hands to Anjali mudra at your sternum.
3. Practice this pose with your lifted foot on a wall as you get a feel for the hip alignment.
It’s a Warrior Thing
Although you’d think that it would make sense to move through the Warrior poses in sequential order, Warrior III flows more naturally from Warrior I because they share the same forward-facing pelvic alignment, whereas in Warrior II, the pelvis faces the side. That’s why our Warrior Flow Sequence takes things out of numerical order.